MailChimp is easy to use, but here are some tips to keep the setup smooth!
If you already have an account, skip down to “Get Your Welcome Series Going.”
If you’re setting up a new account:
1. Keep in mind that the email you create the account with is just for your own administration purposes.
If you sign up with Jane.Doe@Email.com, that’s where you’ll get all MailChimp admin stuff like their billing reminders.
Later, when you create an email campaign to go out, you can specify that it show the email as sent from Jane.Doe.Photography@Email.com instead. You have flexibility there. So don’t stress out if you haven’t named your business, or aren’t sure if your business name will change. The email you enter here is just back end admin.
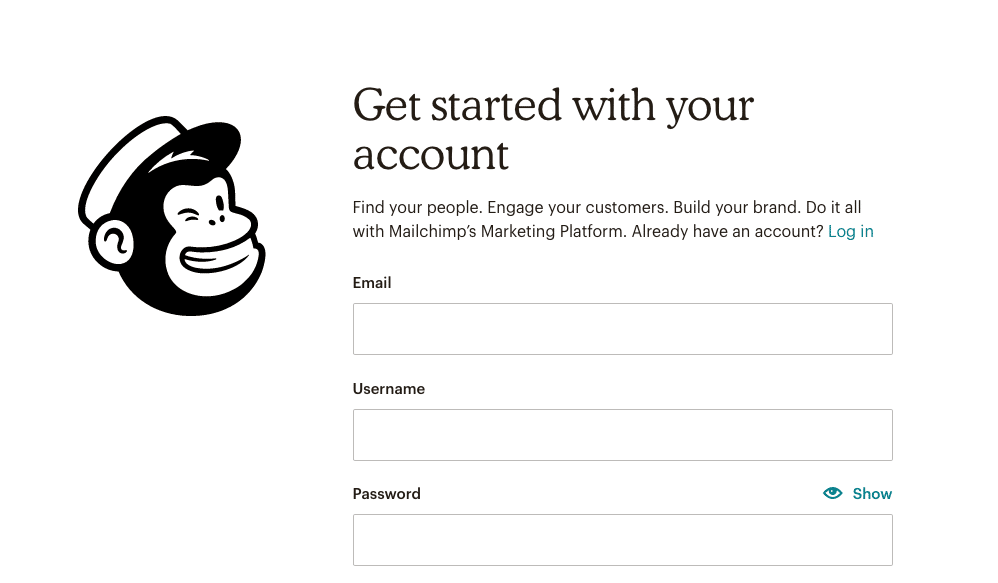
2. Once you create an account, it’ll have you confirm your email.
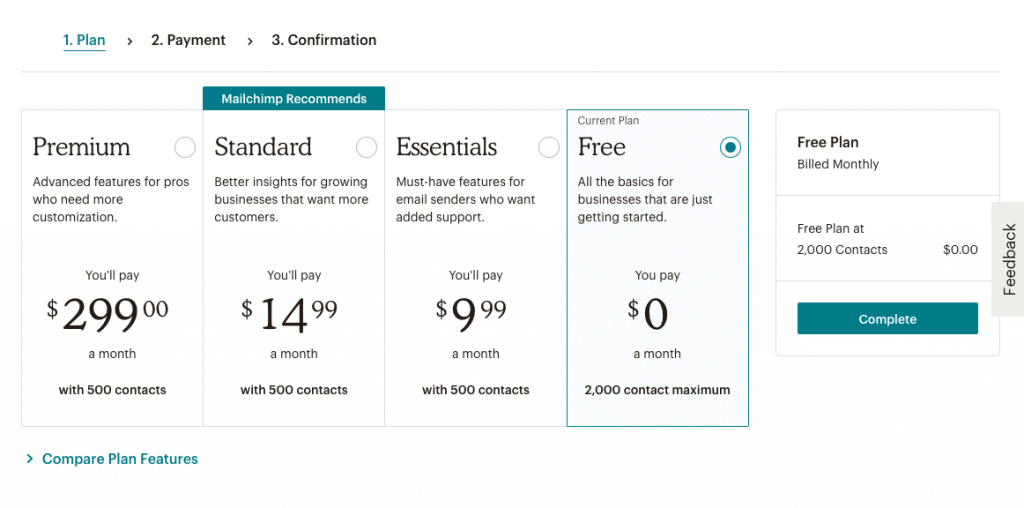
After you confirm, it will ask you to pick a plan.
The free plan only lets you send one welcome email when people sign up, not a whole welcome series. I recommend being able to send multiple emails, so I’d choose the standard plan. If your list is just starting out, $15/month is totally reasonable for being able to engage people right away.
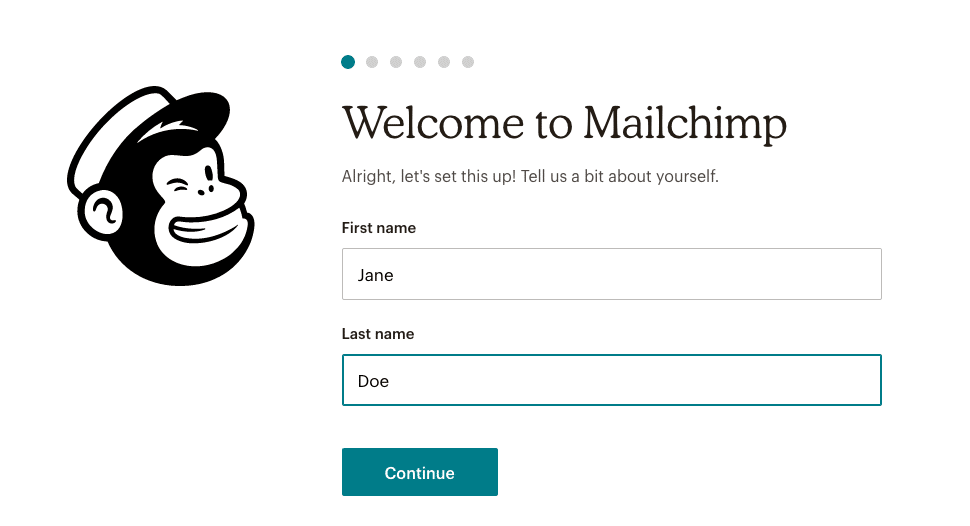
3. Then you’ll be sent to a dialogue box that will ask you for your name, and next comes your business name + your business website if you have one:
And then – don’t freak – it’s going to ask you for a physical mailing address.
The physical mailing address is going to appear at the bottom of all correspondence you send out. This is a requirement of national and international spam email laws.
If you don’t have a public studio mailing address, no worries, you can register a PO Box. (If you live in the United States you can reserve a PO Box online and pick up the keys next time you go in.)

Then it’ll ask you if you have an existing list. As in, are you importing a list you already have. If you’re creating a new account, probably not. You can’t just add past clients to your list, that’s not legal and will get you marked as a spammer. People need to sign up and give permission to be on a list and know what they’re signing up for. You CAN, however, email past clients and tell them about your awesome new welcome sequence and direct them where to go!
If you do have a list and are moving to MailChimp from another service, later it’ll let you upload a file of names/addresses.

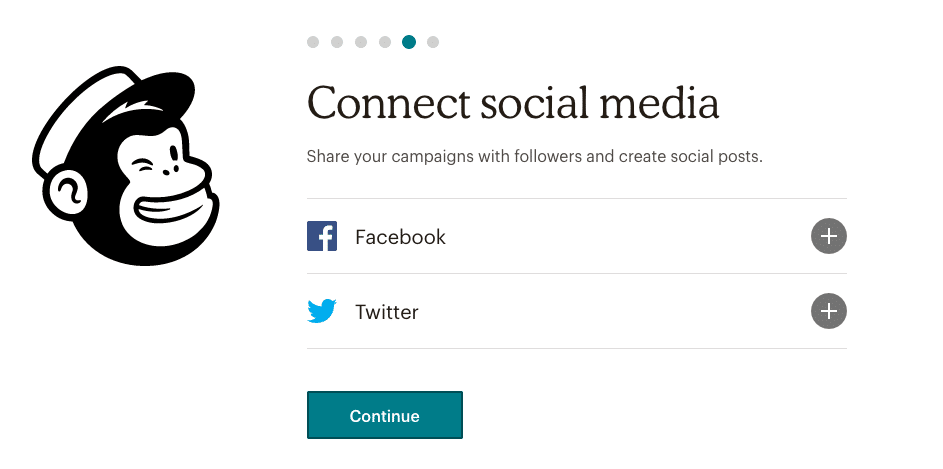
Almost done with setup, it’ll ask you to connect your social media, which will give you the option to easily post emails to Facebook and such later. (You can connect this later, too.)
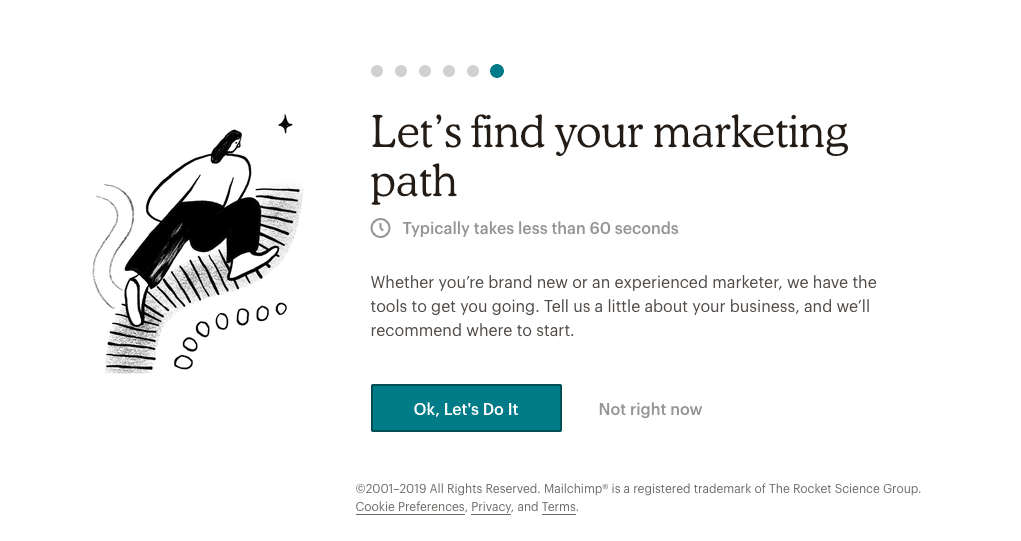
4. Now your account is created. Next, MailChimp asks you a series of questions so it knows what features to point you to. You can skip this part if you want, but it’s easy to go through, I’ll show you the windows here (current as of 7/1/2019). This isn’t permanent, so don’t stress, you can change anything later:
Most of you will answer ‘no’, you don’t make money off of your site content: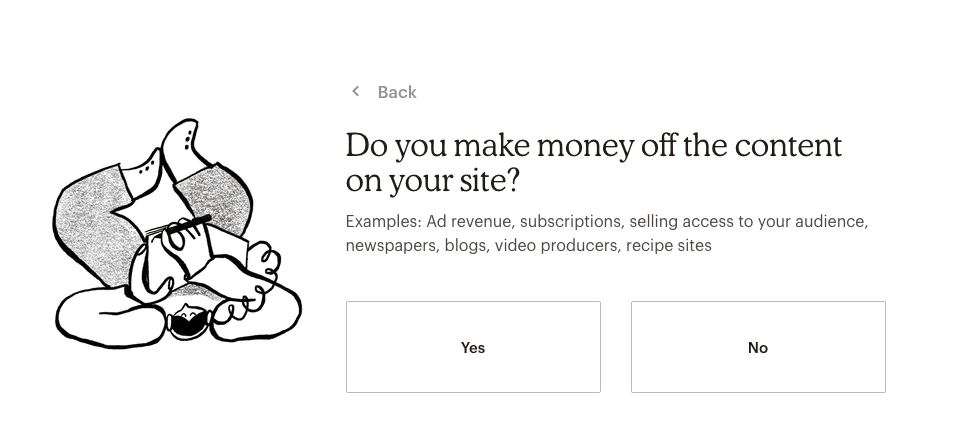
Most of you will answer ‘no’, your people don’t interact with you via software or an app: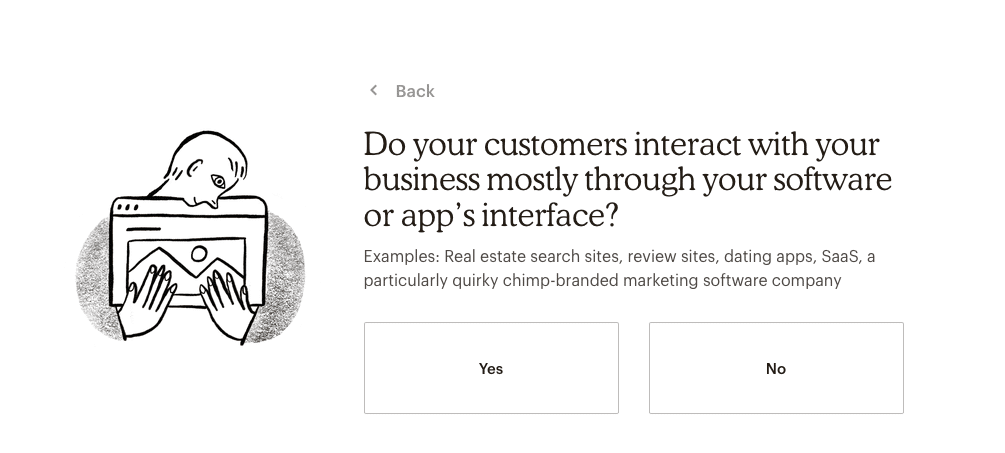
Most of you will say no to selling things online (this is like if you have an online store), unless you sell prints in an online shop type thing: 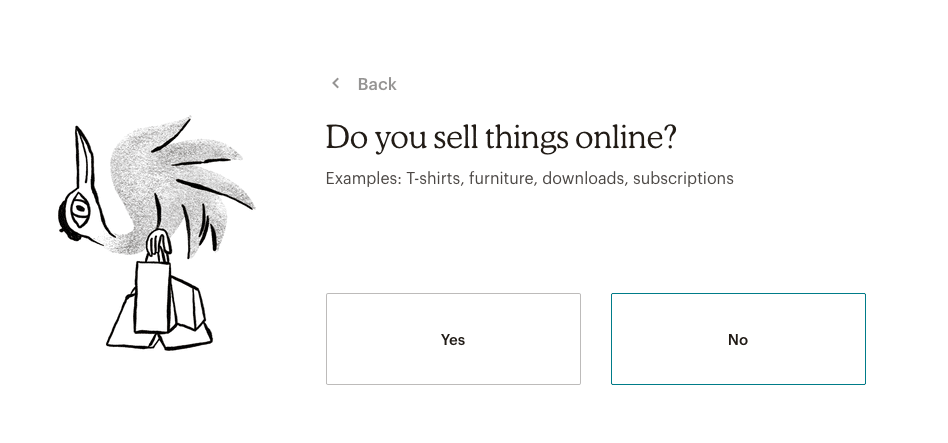
You could answer ‘yes’ to supporting bookings if your people book calls or their session in a calendar right on your website:
You probably say ‘yes’ to talking to people in person if you ever do consults over the phone: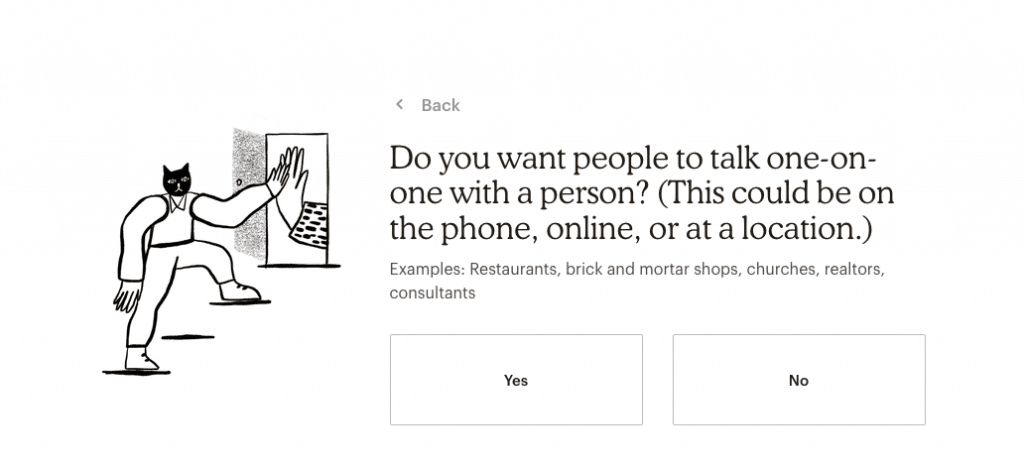
Most of you probably measure success by people reaching out to call/chat, but some of you might measure success by consults booked through your site: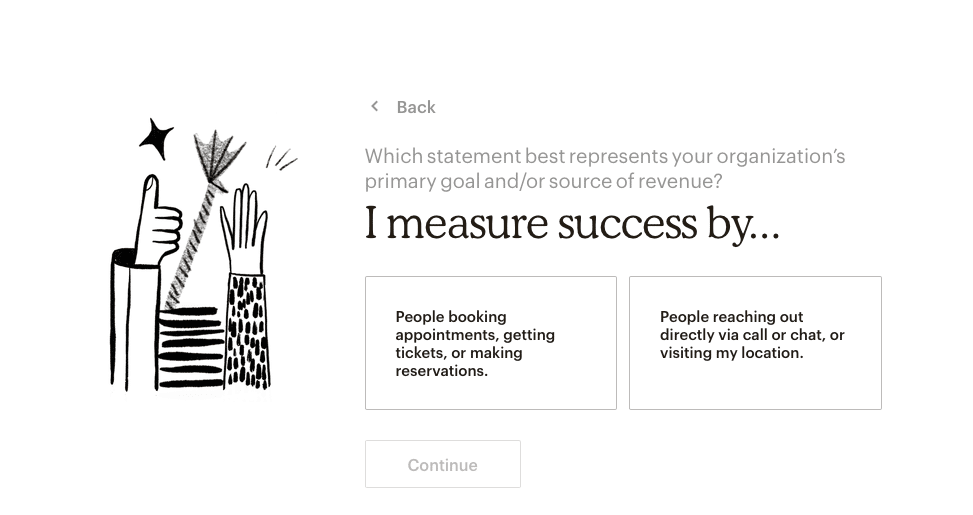
Then you can decide to subscribe to their emails or not: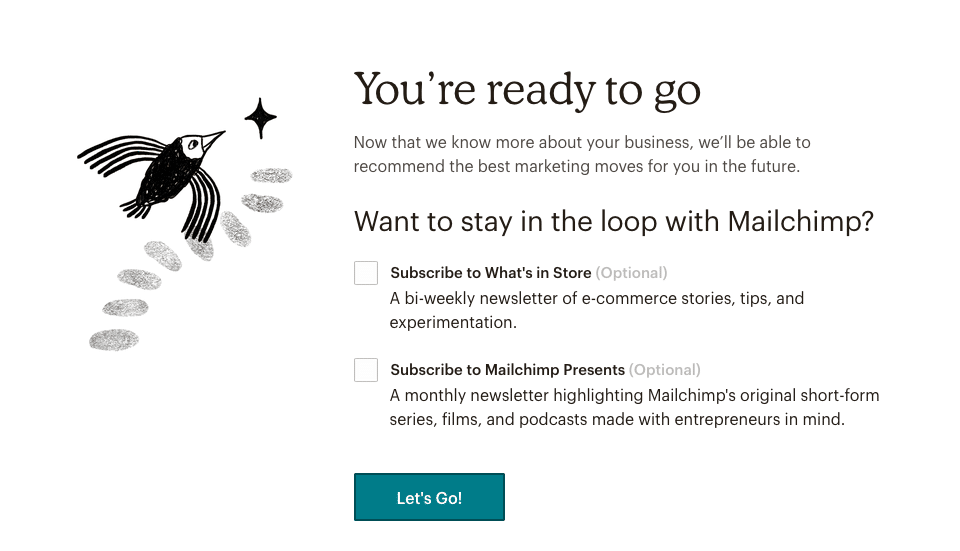
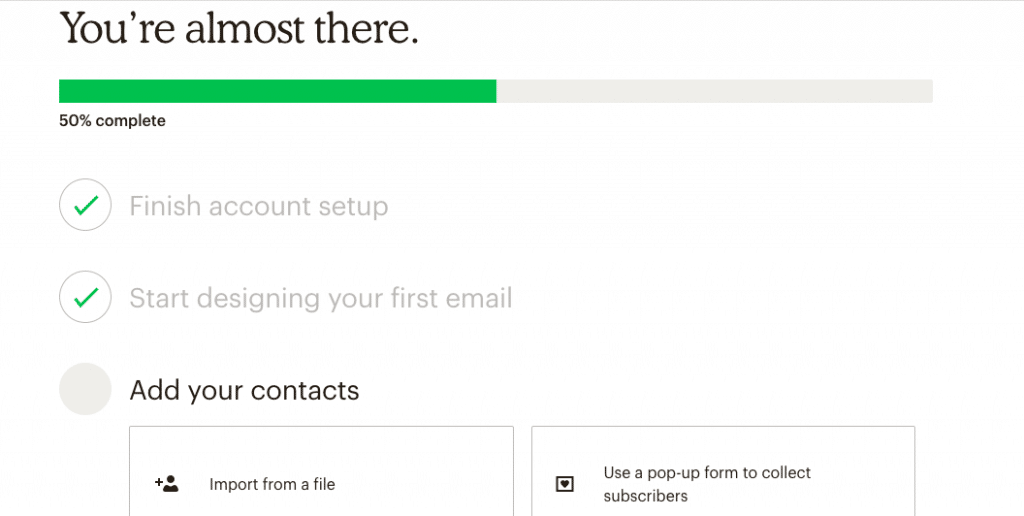
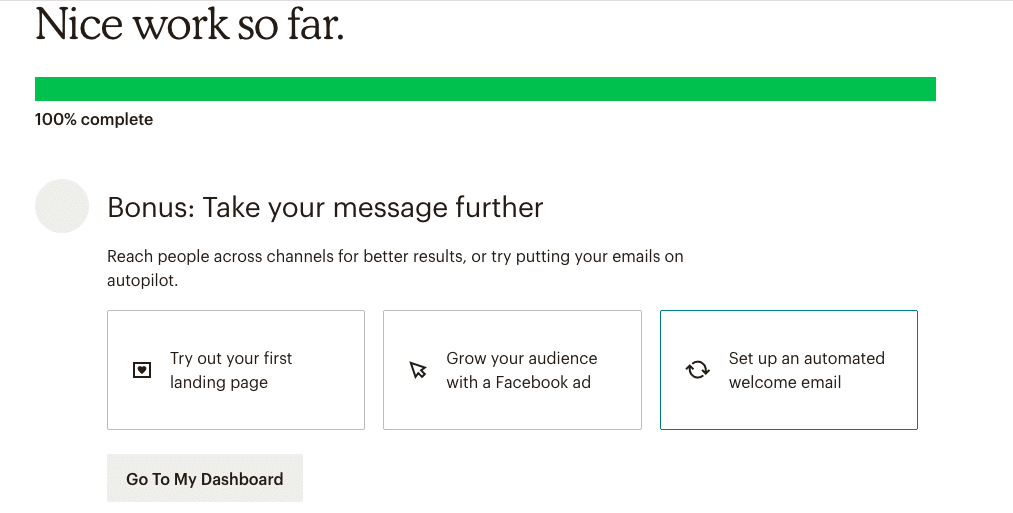
Now it’ll take you to a dialogue that’ll say you’re 25% done. I would click “I’ll do this later” on all items, because you want to go set up your welcome series first, not send a single email.
You can create sign-up boxes later, too (just hit “Create” on your dashboard). You probably don’t want to start collecting people until your welcome series is ready to go, anyway.
Once you hit “I’ll do this later” on all those items, you’ll see a dialogue pop up, and on the bottom right it’ll say “Set up an automated welcome email” – bingo. Click there and you’re ready to input your welcome series!
Get Your Welcome Series Going:
MailChimp refers to your welcome series as an “automation.” They have a nifty overview of their automations here.
Here’s how you set it up:
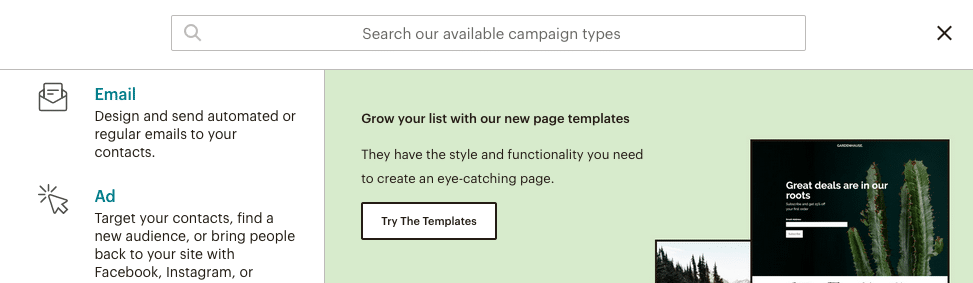
Go to your MailChimp dashboard and click Create:

Then on the top left of the box that pops up, click Email:
Then choose “Automated” in the top middle, and click “Welcome New Subscribers” from the selection boxes: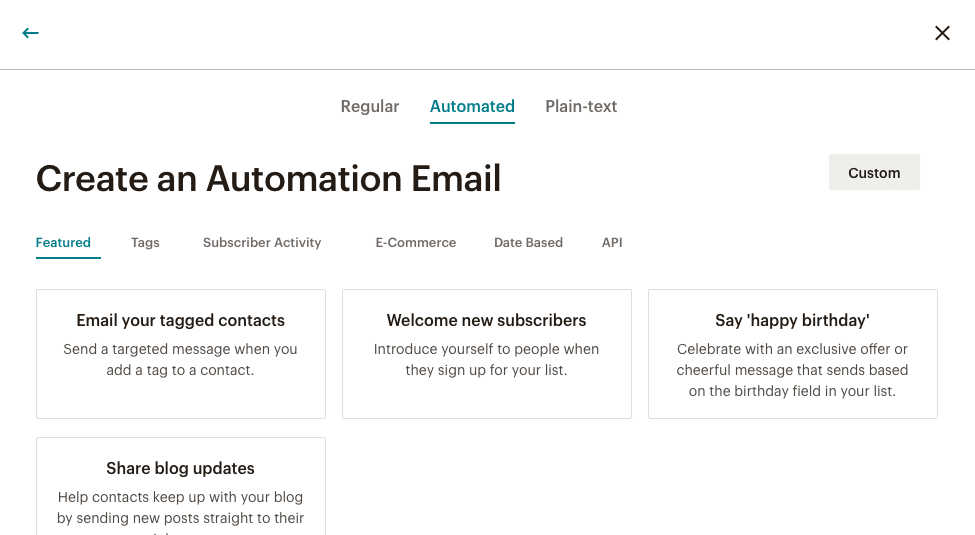
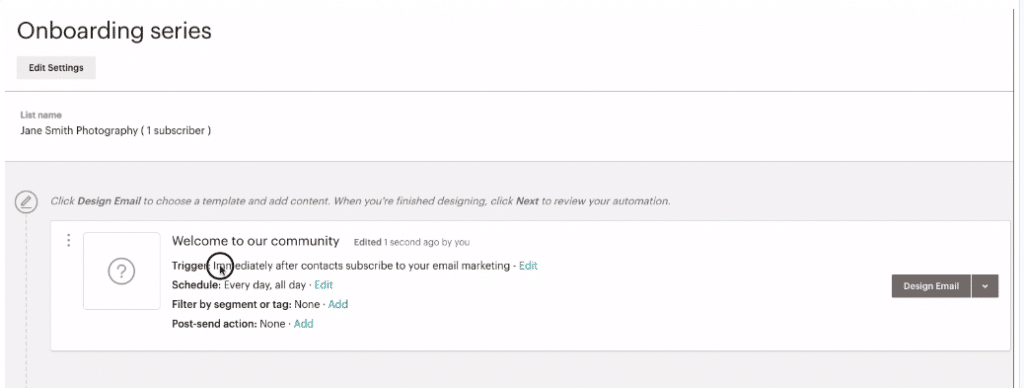
Then click Onboarding Series at the top:
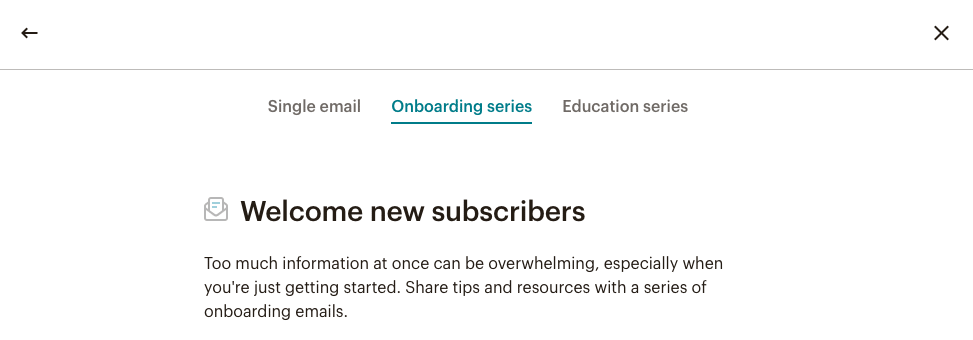
And you’ll see a screen that shows a series of emails you can edit and add your content to! Just click “Design Email” and you’re ready to go drop in your content and photos!
There is one more thing to note and that is “Triggers.” A trigger is an action that results in sending an email.
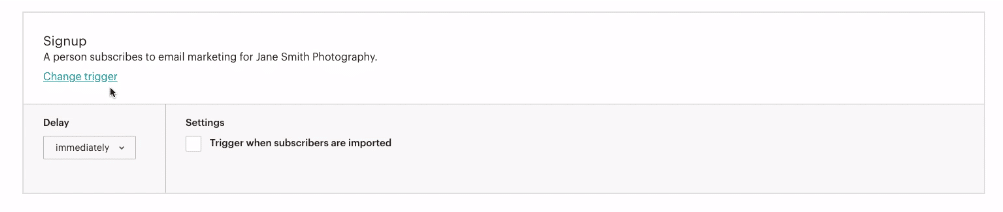
The trigger for your first email is going to be a contact subscribes to your list, and you’ll see in Onboarding series that the first one defaults this way:
You can also hit ‘edit’ and change the trigger. (For example, if you’re importing a list of subscribers, you can trigger it to send to all of them upon import.)
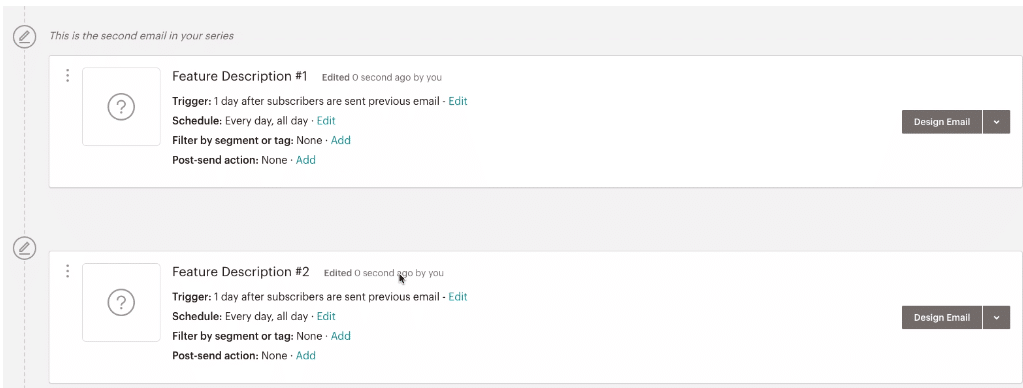
The trigger for all emails after that initial one is usually the ‘delay,’ which means how long you want them to wait until they send the next one. In most cases, you’ll send the second email one day after the first. It doesn’t hurt to do every day for your welcome series – people are getting to know you and their interest in you is highest right after they subscribed.
If your series is longer than 5 emails, after the first few days it couldn’t hurt to move to every other day.
When you click Design Email you’ll get dialogue boxes that have you enter a name for the email (for your organization purposes) and then the subject line and content.

You’re ready to enter all your content!
Final note: If you want to send your welcome series to existing subscribers, you can just replicate (copy) the emails and send them out as regular broadcasts. Because the first trigger for a welcome series is that a person subscribes to the list, you need to manually send it out to your current list so they get it, too, since they’re already subscribed. You might want to give them a heads up beforehand: Hey, I made a cool new guide to ____! It’s called ______, and it’s going to hit your inbox starting Monday. If they’re not expecting it, people could get annoyed if you suddenly start sending a ton of email.
Need more help? Read more about automations here, and more about designing emails here. MailChimp has a great help desk, so if you have more questions I’ll refer you to them! They’re super easy to talk to. Enjoy!